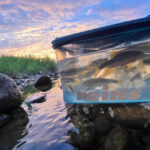
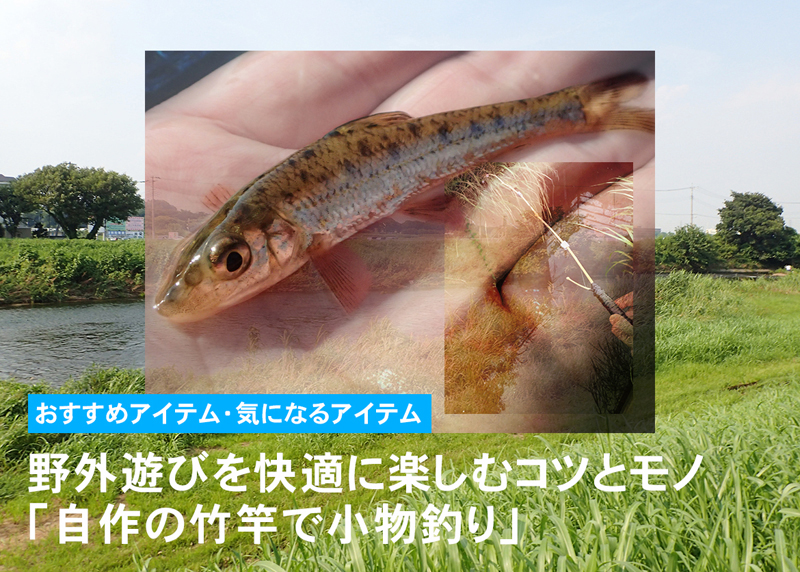
いよいよ子どもたちは夏休みスタートですね! 夏休みと言えば、頭を悩ますのは「自由研究」でありますが、そんなこともちょっとだけ意識(?)しまして。今回は、自分で作った釣り竿で小魚を釣って、透明ケースで観察しちゃおう!……という提案をさせていただきたいと思います。
さっそく竿作りを開始!
今回の釣りの対象魚はヌマチチブやウキゴリ、テナガエビやザリガニといった、小魚&エビです。それらを短時間で簡単に作れる竹竿で狙ってみよう、という提案です。ではさっそく、まずは作り方からご紹介しましょう! 言い訳のように申し上げておきますが、この竹竿、いつも作っているわけじゃありません。実は今回が初の試みです(思いつきですみません!) ですが、練りに練って素材や作り方等を吟味しましたので、ぜひともおつきあいください……。
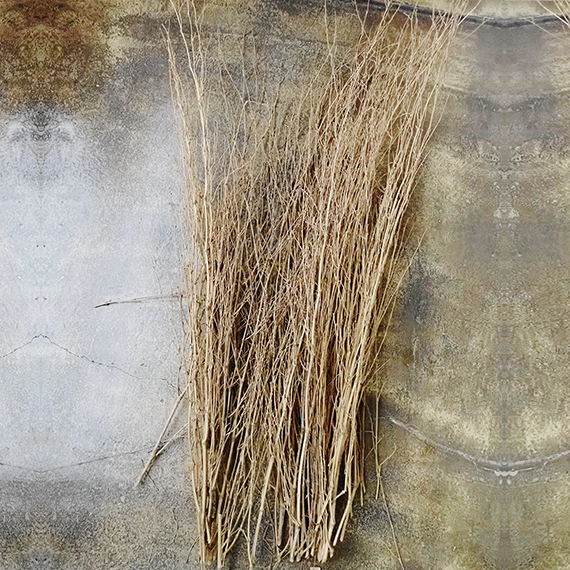
まずは竿本体の材料となる竹を入手するところから始めましょう。ご近所に竹林があるなら、そこで枯れ落ちた1mほどの竹枝を拾ってくるとよいと思います。今回の私もそうでしたが、竹が簡単に入手できない人はお近くのホームセンターへ行きましょう! そして購入したのは……こちら!
![竹ぼうき](https://heat-hayabusa.com/wp-content/uploads/2018/07/01-4.jpg)
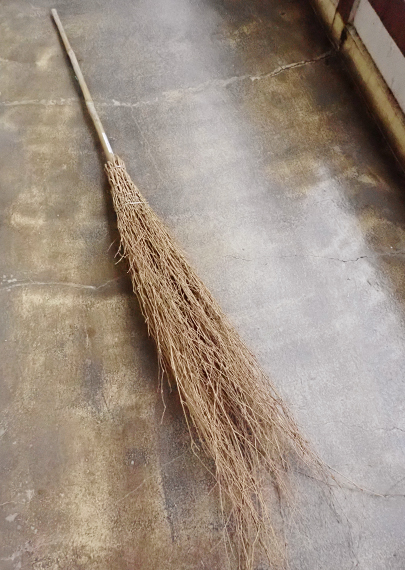
竹ぼうきです。これが破格の228円!(安ッ) これをバラすと、今回作ろうと思っている竹竿が30本ほど作れます(そんなに作りませんよね……)。
![ペンチで針金をカット](https://heat-hayabusa.com/wp-content/uploads/2018/07/02-4.jpg)
![ほうきをバラバラに](https://heat-hayabusa.com/wp-content/uploads/2018/07/03-4.jpg)
![不要な枝をカット](https://heat-hayabusa.com/wp-content/uploads/2018/07/04-5.jpg)
![剪定した枝](https://heat-hayabusa.com/wp-content/uploads/2018/07/05-4.jpg)
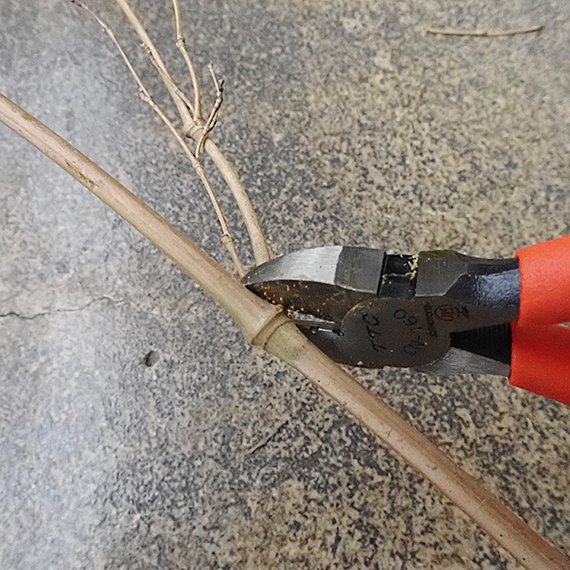
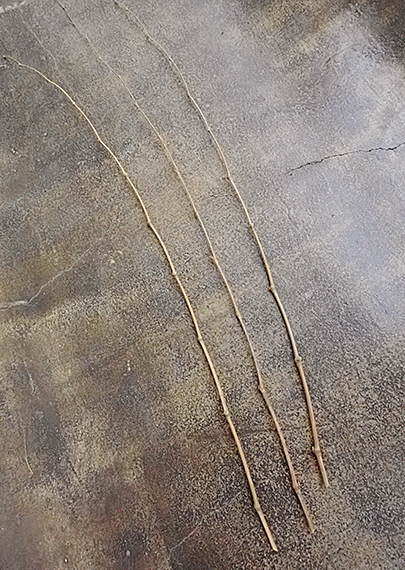
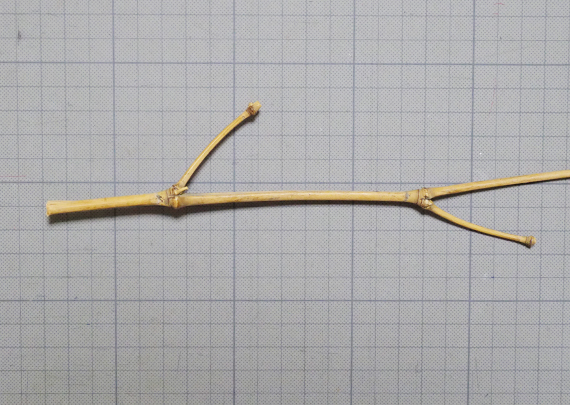
剪定したものがこちら。長さは1m弱ほどでしょうか? これで竿はできあがりっちゃできあがりです。ちょっとしたザリガニ釣りぐらいなら、これに糸つけてスルメでもつければOKでしょう。ですが今回はもうちょっとだけこだわってみます。
![手順06](https://heat-hayabusa.com/wp-content/uploads/2018/07/06-3.jpg)
![手順07](https://heat-hayabusa.com/wp-content/uploads/2018/07/07-4.jpg)
![手順08](https://heat-hayabusa.com/wp-content/uploads/2018/07/08-4.jpg)
![手順09](https://heat-hayabusa.com/wp-content/uploads/2018/07/09-4.jpg)
![手順10](https://heat-hayabusa.com/wp-content/uploads/2018/07/10-4.jpg)
![手順11](https://heat-hayabusa.com/wp-content/uploads/2018/07/11-4.jpg)
![手順12](https://heat-hayabusa.com/wp-content/uploads/2018/07/12-4.jpg)
![手順13](https://heat-hayabusa.com/wp-content/uploads/2018/07/13-4.jpg)
![手順14](https://heat-hayabusa.com/wp-content/uploads/2018/07/14-3.jpg)
![手順15](https://heat-hayabusa.com/wp-content/uploads/2018/07/15-2.jpg)
![自己融着テープ](https://heat-hayabusa.com/wp-content/uploads/2018/07/16-2.jpg)
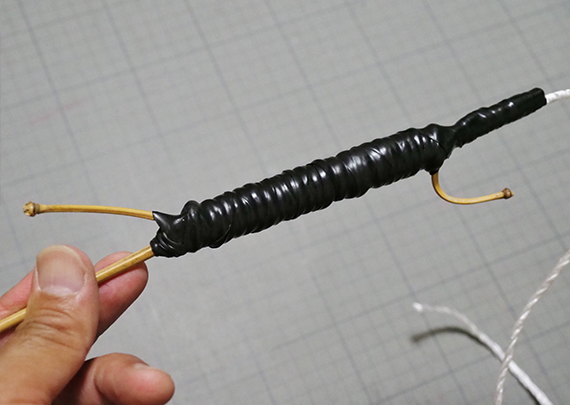
次に用意するのはこちら。自己融着テープ。2mで288円でした。これを……
![手順17](https://heat-hayabusa.com/wp-content/uploads/2018/07/17-1.jpg)
![手順18](https://heat-hayabusa.com/wp-content/uploads/2018/07/18-1.jpg)
![手順19](https://heat-hayabusa.com/wp-content/uploads/2018/07/19.jpg)
![ボールペンの芯](https://heat-hayabusa.com/wp-content/uploads/2018/07/20.jpg)
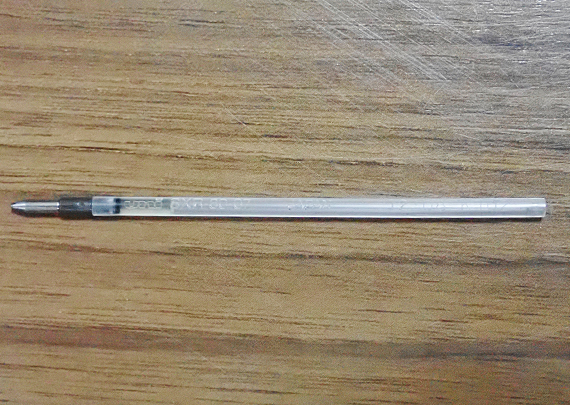
次に用意するのは、使い終わったボールペンの芯です。
![手順21](https://heat-hayabusa.com/wp-content/uploads/2018/07/21.jpg)
![手順22](https://heat-hayabusa.com/wp-content/uploads/2018/07/22.jpg)
![手順23](https://heat-hayabusa.com/wp-content/uploads/2018/07/23.jpg)
![手順24](https://heat-hayabusa.com/wp-content/uploads/2018/07/24.jpg)
![手順25](https://heat-hayabusa.com/wp-content/uploads/2018/07/25.jpg)
![手順26](https://heat-hayabusa.com/wp-content/uploads/2018/07/26.jpg)
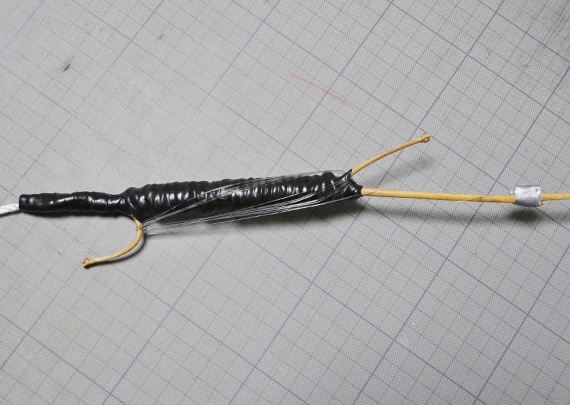
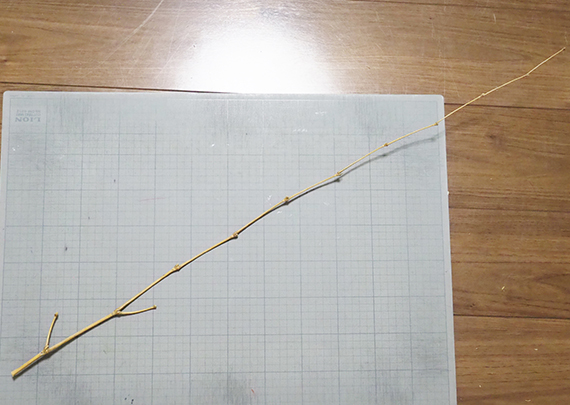
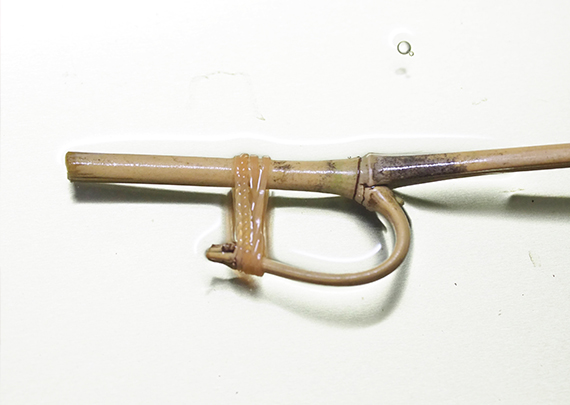
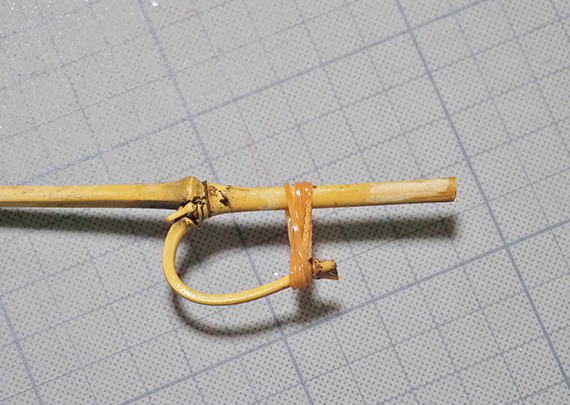
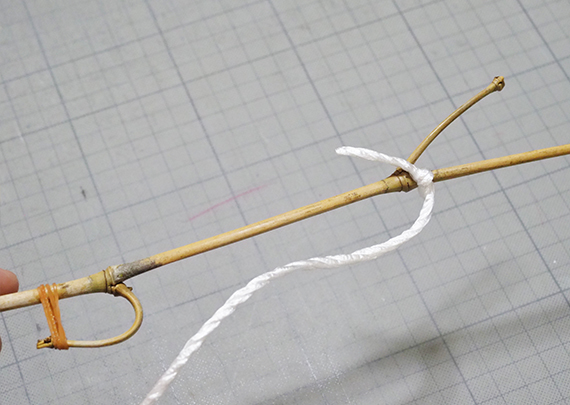
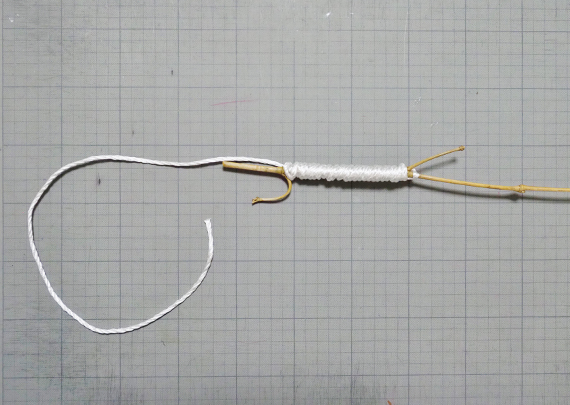
そして道糸(ナイロン3号。ある程度太めのほうがトラブルがなくておすすめです)をグリップ前後にあるふたつの節から飛び出した枝に巻き付けていきます。
![手順27](https://heat-hayabusa.com/wp-content/uploads/2018/07/27.jpg)
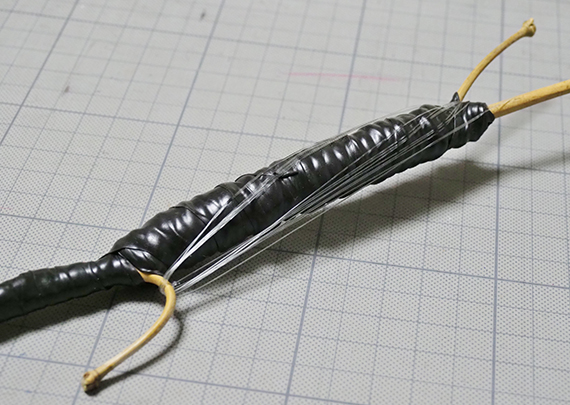
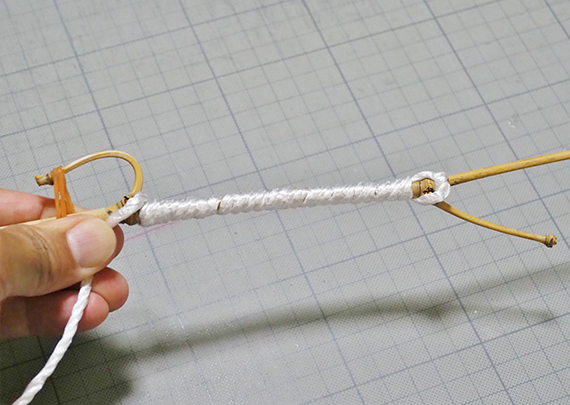
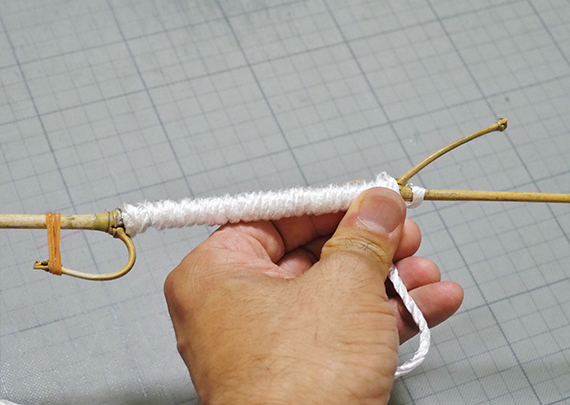
根元側にまず結び、上の枝、下の枝と交互に引っかけていきます)。10回ほど巻いたらガイドに通していきます。
![曲がりの確認](https://heat-hayabusa.com/wp-content/uploads/2018/07/28.jpg)
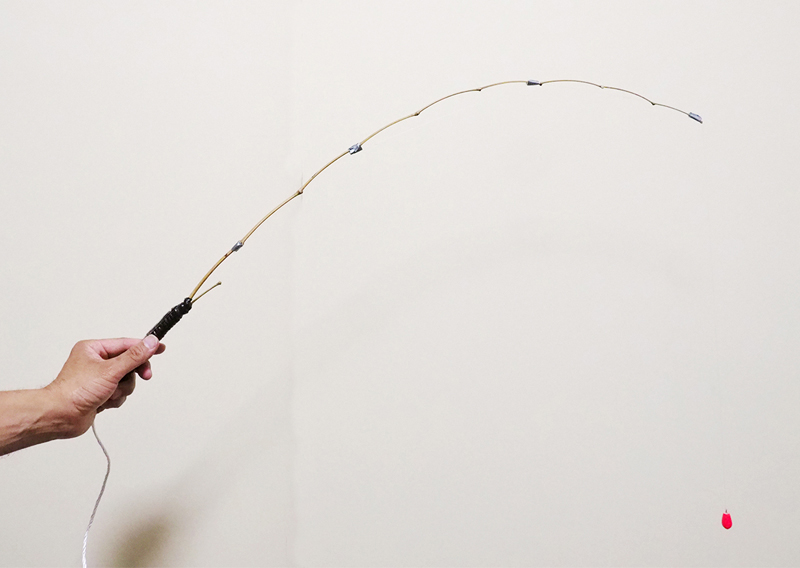
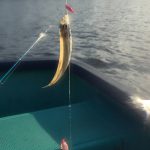
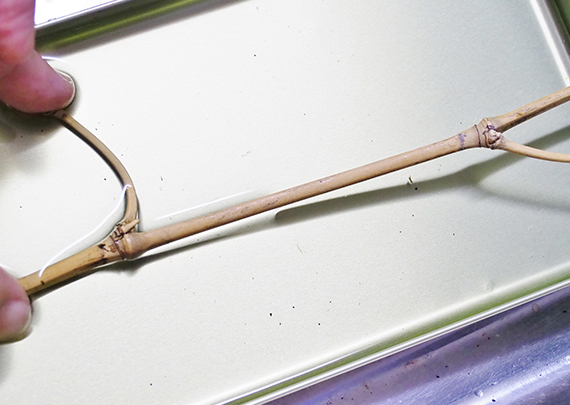
先端にオモリをつけて曲がりを確認。お、いい感じじゃないですか!!
![手順29](https://heat-hayabusa.com/wp-content/uploads/2018/07/29.jpg)
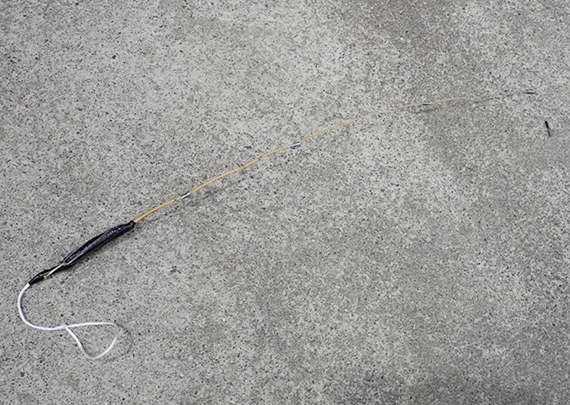
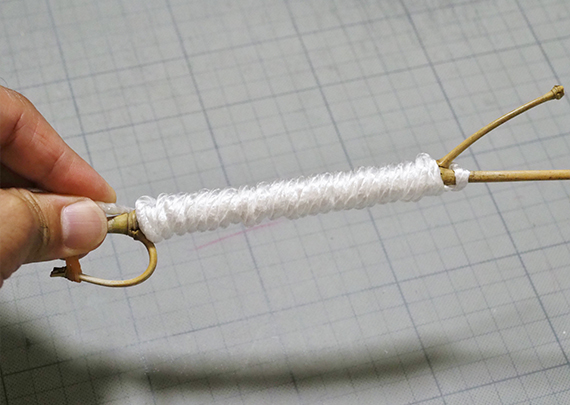
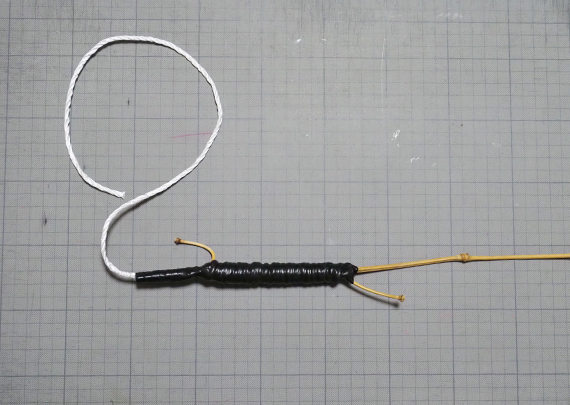
尻尾のように飛び出していたヒモの先端を輪っかにすれば……完成!! 作成時間は30分ほどでしょうか?
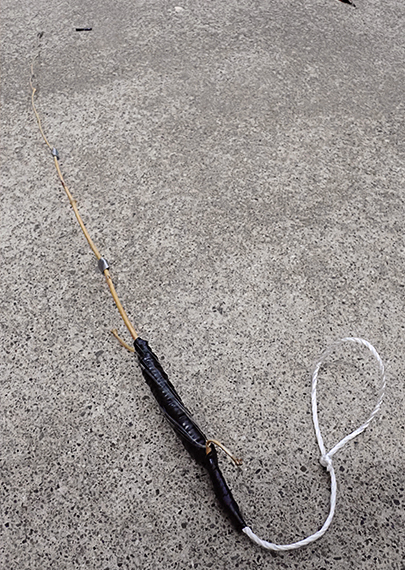
![手順30](https://heat-hayabusa.com/wp-content/uploads/2018/07/30.jpg)
いいんでないのー?
![仕掛とウキ](https://heat-hayabusa.com/wp-content/uploads/2018/07/31.jpg)
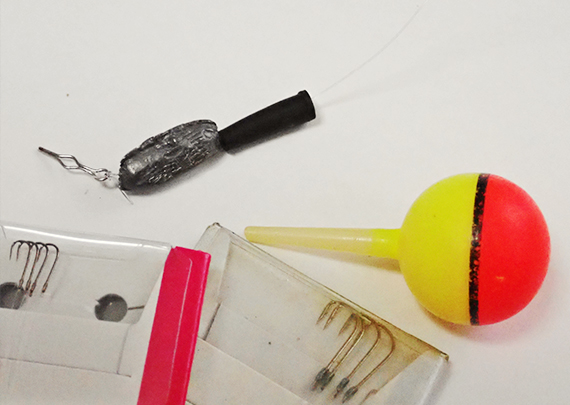
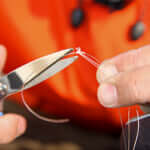
先端につけている仕掛はこんな感じです。ゴム管を通して、かみつぶしオモリを付け、自動ハリス留めをセット。この先に袖針やエビ針など小物用のハリス付き針を、ハリス10㎝ぐらいでセットするだけ。ウキ釣りをしたくなったら、ゴム管に玉ウキをセットしましょう。